Tuesday, May 20, 2014

World cuisine-inspired Deviled Eggs

If you use Pinterest, you probably noticed that around Easter, everyone and their husband's uncle's mother-in-law's best friend's cow pins deviled egg recipes, because if you have kids, there's a good chance you're dyeing eggs.  And if you're dyeing eggs, there's an even better chance you hard-boiled them.  And then you're stuck trying to eat a dozen or so hard-boiled eggs in a relatively short time period.  Deviled eggs are a great way to do this.  Deviled eggs are also a neat opportunity to explore savory flavors.

World cuisine is a great source of flavor inspiration.  While no one dish or combination of flavors can capture the complexity and diversity of national and/or regional cuisines, one can see certain flavors predominate, or certain dishes are near and dear to people's hearts.  I've used that approach to create these deviled egg recipes-- one is inspired by flavors I associate with Mexican foods; the other is inspired by Greek flavors.

A friend of mine told me recently that she really enjoyed these recipes; apparently she does't usually like deviled eggs and just tried them to be polite.  For her benefit (and that of others, probably), I'm going to try to include measurements.  Please note that the measurements listed in the following recipes are estimates, and should be adjusted to taste.  If in doubt, put in less to start with.


Mexican-inspired Deviled Eggs
4 hard-boiled eggs
2-3 Tbsp mayonaise
1 tsp yellow mustard
1/4 tsp chili powder
1/2 tsp ground cumin
pinch onion powder (a big pinch)
1 Tbsp chopped fresh cilantro leaves, plus some for garnish
salt and pepper


Cut the eggs in half and pop the yolks out.  Place the yolks in a small bowl and add the mayo, mustard, chili powder, cumin, and onion powder.  Using a fork, mash everything together until it is [more or less] smooth.  Stir in the cilantro leaves, and season to taste with salt and pepper.  If you're feeling fancy, pipe the yolk mixture back into the egg white halves.  If you just want to get them done, don't want to deal with cleaning a piping bag, don't have a piping bag (and don't want to use the plastic baggie with a snipped corner method), or can't bear the thought of losing even a little bit of the delicious yolk mixture to a bag, just spoon the mixture into the egg white halves.  They'll taste good enough that people shouldn't mind too much.  Garnish, if desired, with a sprig of fresh cilantro.

Greek-inspired Deviled Eggs
4 hard-boiled eggs
2-3 Tbsp mayonaise
1 tsp yellow mustard (a skimpy tsp)
1/4 tsp lemon juice
dash dried lemon zest
1/2 tsp dried oregano
pinch garlic powder
salt and pepper

As above, halve the eggs and scoop out the yolks.  Mash together the yolks, mayo, mustard, lemon juice and zest, oregano, and garlic powder.  Season to taste with salt and pepper, and place into the halved egg whites.


Something I've learned the hard way: egg whites are slippery buggers.  Watch out!  My recommendation is not to serve them on a regular plate.  Use a dish with sides, like a pie pan or a storage container, or one of those fancy egg-plates that have indentations just for deviled eggs.  

Also, if you can let these recipes sit for a little bit, you'll have better flavors, because the ingredients will have more time to blend their flavors together.  I recommend doing this before filling the eggs, because a small bowl is pretty easy to cover tightly.  The filling will dry out if you aren't careful, and it can look a little funky when that happens.  

Finally, I am always on the look-out for tips for "perfect" eggs.  I have not yet worked out the magic formula.  What I have worked out is the easiest way to cook them: put the eggs in a pot filled with cool water, and bring it to a boil.  Once it comes to a rolling boil, turn off the heat, cover the pot, and let the eggs cook with carry-over heat until the water has cooled.  I like this method because it saves me wondering how long is long enough for cooking them.  It also uses energy efficiently; you only need to heat the water to a boil.  I usually boil the eggs right before I need to run and errand or something, so all that carry-over cooking/cooling happens while I'm busy with other things.  It makes it seem like I'm not waiting.


Friday, May 9, 2014

Mini-quiches… or a souffle?

I've thought for a while that I would like to, someday, make a soufflé.  But I've been put off by fear from listening to stories of collapsed soufflé frustrations.  Except I think I almost made some on my own.  It went like this:  I had some not-so-fresh-anymore fresh spinach that I needed to use up, and I decided quiche sounded good.  Except there wasn't much of the spinach; I had been eating it pretty faithfully.  So I decided on mini-quiches.  And then I got curious about what, exactly, defines a quiche.  According to one source, it's basically a savory custard.  Yum!  That's an even more delicious prospect than my description, "egg pie" (see previous "Quiche" blog).  So with that in mind, I got fancy.  I separated my eggs, beat the whites, and used what I think of as a typical custard approach, like for cream pie.  Everything turned out nice and quiche-y.  But they puffed up in the oven!  How cool!  And the deflated as the cooled… and I realized I'd heard that story before.  Sure enough, when I checked what exactly a soufflé is, I had more or less stumbled upon it with this recipe.  So now I'm not so intimidated.  

Mini souffle-quiches (makes 6)
Pie dough of choice
1/8 C cooked spinach (see notes)
1 1/2 slices lunch-ham, diced
1 egg, separated
~1/4 C milk
1/8 C shredded Italian blend or mozzarella cheese, plus some to top
salt and pepper, to taste

Prebake your pie-crust:  Preheat the oven to 375˚F.  Take a piece of dough about the size of a ping-pong ball and press it into a muffin tin, making sure to evenly distribute along the bottom and up the sides of the cup.  Line with foil to prevent over-browning and weird puffing-up.  You don't need to poke these with a fork, but you can if it makes you feel better.  I've seen recipes that say to do this; I've seen others that say DON'T, like the whole thing will blow up in your face if you do.  I poked some of mine and not others, and by the time they were finished, I couldn't  tell which were which.  Bake ~10 minutes until the crust seems slightly set.  Remove the foil, and bake an additional 10 minutes until golden. Remove from the oven (and turn the thing either off or down) and allow the crusts to cool.  

When the crusts are cooled, preheat the oven to 360˚F (I know this is weird, I was guessing at a good temperature, and this is what my oven and I settled on).  Combine the spinach and diced ham in a small bowl, season with pepper, and set aside.  Whip the egg white to frothiness in another small bowl, and set aside.  Combine the egg yolk and milk in a small saucepan, season with salt and pepper, and heat over medium-high heat, whisking all the while.  When it begins to thicken, begin adding it, 1 spoonful at a time, to the egg whites, whisking/beating them thoroughly with each addition to maintain texture.  After you've added a couple spoonfuls, you can add larger amounts of the yolk mixture.  Stir in the spinach and ham mixture and the cheese.  Spoon into the crusts and bake for 10 minutes.  Sprinkle a little more cheese on top of each mini-quiche, and bake 10 minutes more.  

I love that this was accidentally a soufflé.  It really makes me feel better about making them in the future.  I would recommend trying it as a first soufflé yourself, because if it does collapse, you still have delicious quiche worth eating.  I know, because mine collapsed over time (as they cooled) and kept quite well in the fridge until I re-warmed them.  So go ahead and give them a try: you may surprise yourself!


Monday, May 5, 2014

"Divine" may be a bit of a stretch

A few years ago, my family and I were members of St. Timothy's Aiea.  During this time, the congregation compiled a cookbook as a fundraiser.  I guess, from the number of friend I have with similar books, that this is a fairly normal thing.  I got really excited.  It was a fairly diverse congregation, so the odds of finding new and exciting recipes was pretty good.  And everyone puts their best foot forward for such a thing-- either something cheap, quick and never-fail, a crowd-pleaser, or the most amazing thing they ever learned to make.  It's a pretty cool thing.


Recently, I found myself wondering what I ought to do with the chicken pieces I had in my freezer (I'd bought and broken down a whole bird while making soup, but had hardly used any meat.)  I starting flipping through the church cookbook, and decided on "Chicken Divine".  Not only is the name pretty promising, but I had most of the ingredients handy.  It's an interesting, rather Hawaiian casserole.  I mean, I cannot think of anywhere else people would combine cheese and curried mayonnaise.  But in Hawaii, sure.  Why not have some Spam with that?  But that's another blog…

Below is the recipe as I found it in the book; check my notes (in italics) for clarification and/or modification.

Chicken Divine
2 10-oz. boxes frozen broccoli, chopped
2 C boneless chicken, cut into bite-sized pieces (or ham, if preferred)
1 10-oz. can cream of mushroom soup (or cream of chicken, if preferred)
1 C mayonnaise
1 tsp lemon juice
1/2 tsp curry powder
1/2 C grated cheddar cheese
1/2 C bread crumbs

Preheat the oven to 350˚F.  Pour boiling water over the broccoli and drain well, arrange in a buttered 9x13-inch pan.  Distribute the chicken over the broccoli.
In a mixing bowl, combine the soup, mayo, lemon juice, and curry powder.  Pour/spread the mixture over the chicken and broccoli.  Top with cheese and bread crumbs, then bake 30 minutes.

Notes: 
- I used less broccoli than called for-- I got a 1 lb bag and figured that was close enough.  Consequently, I also used a smaller pan-- closer to 7x11 than 9x13.
- Pre-cook the chicken.  I went back and forth on whether or not to do this.  I ended up partially cooking the chicken, and still felt it was just slightly under-done.  I dealt with this by microwaving the food, which was a little silly when it was piping hot out of the oven, but convenient when re-heating.
- Use more curry powder.  And possibly some pepper.  I also am a cheese fan, so I used closer to a whole cup.  And probably more bread crumbs, too.


This dish could probably have been named better.  For one, the broccoli seemed to be more present than the chicken.  And while it was a delicious dish, "divine", to me, has connotations of lightness.  (Think angel food cake.)  The mayo, while giving the casserole a semi-whipped texture, is rather heavy.  So much so that, although it was tasty, I wasn't thrilled at the idea of eating tons of leftovers.  The mayo just sort of sits in my stomach.  It's probably a psychological thing-- for the longest time I would not eat mayo, so knowing how much is in this probably put me off a tad.  

That said, I really did like the flavors of this dish.  It was rich, it was flavorful without being spicy, zesty, or over-whelming.  I would recommend it for potlucks or feeding relatives while they're visiting-- any time you don't expect lots of leftovers.  And should you have some anyway, it does reheat well.  


Tuesday, April 22, 2014

Pulled Pork with… Rootbeer!

A couple years ago, my roommates and I had a day in our schedules where we all got home rather late and pretty tired, and cooking was not something we were really up for that night.  We discovered the miracle of slow-cooking.  And I realized that I had very few slow-cooker recipes.  So I've slowly accumulated more of them, including this one, from Better Homes and Gardens, for pulled pork with a root-beer sauce.  (I LOVE ROOT-BEER!)


Root-beer-sauced Pulled Pork
2.5 lb pork roast
Steak seasoning
1 Tbsp cooking oil 
1 onion, cut into wedges
2 T minced garlic
3 C root-beer
1 C chili sauce (I used Thai Sweet Chili Sauce)
Hamburger buns (for serving)

Sprinkle the roast generously on all sides with the steak seasoning, pressing/rubbing to make sure it sticks.  In a skillet, heat the oil over high heat.  When the pan is screaming hot (or darn close to it), put in the roast and give it a good sear on all sides-- so it looks nice and brown all over; your slow-cooker shouldn't give it a nice crisp browning.  I recommend using tongs to hold the roast in place so you can sear the ends as well as the flat sides.

Place the roast in your slow-cooker, along with the onion, garlic, and 1 C root-beer.  Cover and cook for about 8 hours on the "low" setting.  I flipped mine partway through, to make sure that both halves of the roast got to sit in the root beer during the cooking.

Toward the end of the cooking time, make the sauce:  Combine the remaining 2 C root-beer and the chili sauce in a saucepan.  Bring the mixture to a boil, then turn down the heat and slowly reduce the sauce.  It should continue to boil gently, and you should stir it to prevent burning.  It takes a while.  About 30 minutes by the original recipe's reckoning.  You want to end up with about 2 C of liquid, or just get it to a consistency that you like-- think of a barbecue sauce (just not a super-thick one).


When you're ready to eat, remove the meat from the slow-cooker.  Drain the liquid, but keep the onions.  Pull the meat apart.  It should be tender enough that this is an easy task.  Just grab a fork or two and start in on it.  The way I see it, you can either combine the pulled meat, onions, and sauce, or you can go ahead and layer them on you bun-- top the meat with some onion and sauce, and anything else you might like to add, such as lettuce or tomato.


I'm not much of a pork eater, generally, but pulled pork is frequently the exception.  This recipe is fantastically simple, and had lots of delicious flavor.  I ate it as sandwiches, by itself, and even made it into an omelette.  Yummy!


Monday, April 14, 2014

It can rhyme with "gone": Scone

I can only speak for myself, but I love a good scone.  I like their relatively dense but still flaky texture; it really sets them apart from other pastries.  I love them so much that I keep collecting recipes for them, even though I absolutely love the first recipe I ever made.  That's the recipe I'll be sharing today, because I haven't yet gone wrong with it.  I found it in one of those junior league cookbooks they compile for charity.  I've changed what gets added to these scones, but they're delicious with any number of add-ins.  I make them whenever I have cream that needs to be used up, and just knead in whatever I have on hand.  This time it was dried mangos and chocolate chips.  


Mango-Chocolate Chip Scones
2 C flour
2 tsp baking powder
1 Tbsp sugar
1/4 tsp salt
6 Tbsp butter, cut into pieces
2 eggs
1/2 C cream
1/4 C chopped dried mango, soaked in rum
1/4 C chocolate chips

Preheat oven to 425˚F.

Combine dry ingredients, and cut in butter (using either a pastry blender, your fingers, or a knife and fork) until the mixture resembles course crumbs.  In previous blogs, I've talked about how unhelpful I find this description.  What you want is a mixture that is NOT evenly mixed.  You don't want tons of huge clumps of butter, but you don't want it totally mixed in.  That's your flakey, buttery goodness.  

In a smaller bowl, beat the eggs and combine them with the cream, raisins, and chocolate chips.  Add this to the dry ingredients and stir just until a single ball of dough forms.  Dump onto a floured surface and knead 1 minute.  Shape into a round, about 1/8 inch thick, and then cut into 8 wedges.  (I use a pizza cutter.)


Place on a lightly grease or parchment-covered baking sheet and bake for 15 minutes, until golden-brown.  

Seriously, I love this recipe.  It's delicious.  These scones go well with tea or a glass of milk, making them a wonderful snack or breakfast treat.  They freeze well, so you can make up a batch right before you go on vacation, using up the cream that won't last until you get back, and not have to worry about whether they'll be ok when you get back.


As for add-ins: the original recipe used raisins in orange liqueur, but I'm not a big fan of baked raisins.  I've used them, though, as well as cranberries, chocolate chips on their own, and once dried blueberries!  Oh, yum.  But the add-in is where you get to make the scones your own, so have fun, use what you like.


Monday, March 31, 2014

Dilled Potatoes… and sauce

I bought a bunch of fresh dill for a recipe.  A BUNCH.  My grocery store didn't have small bunches.  So I was stuck trying to come up with a way to use it, because the only thing worse than the smell of dill permeating my fridge would be the smell of rotting dill permeating my fridge.  (I have a love/hate relationship with dill; I love it when it's cooked or blended or somehow adding its flavor to other foods. I hate the smell of it in my fridge.)  
Dilled Potatoes (For 2)
5 small potatoes, skin-on, washed well
2 Tbsp olive oil
1 Tbsp chopped fresh dill
2 tsp salt
1 tsp pepper

Preheat your broiler.  Chop the potatoes into bite-sized pieces, and place them in a bowl.  Drizzle the oil over, then add the dill, salt, and pepper.  Mix everything together, evenly coating the potato pieces with seasonings.  Dump onto a baking sheet and spread the potatoes out into a single layer.  Make sure there is plenty of oil; you don't want the potatoes to stick to the the sheet.  Pop the baking sheet under the broiler (you can put it pretty close).  I think it took about 20 minutes for me (I must've used the low setting on the broiler), checking it partway through.  I would start with 10 minutes, because I have burnt potatoes this way, and it was very sad.  You want them to stay in there until they are slightly crisped and browned.
Serve, topped if desired, with sour cream dill sauce (below).

Before I get to the dill sauce, I just want to highlight the importance of washing potatoes.  They can have all kinds of nasties living on their skin, but as long you wash them, it's fine.  Be sure to use warm water and scrub them all over.


Dill Sauce
2/3 C sour cream 
1 Tbsp milk
2-3 Tbsp fresh chopped dill
1 Tbsp chopped fresh chives
1 tsp lemon juice
salt and pepper

Combine all ingredients in a smallish bowl, whisk them together, cover it, and pop it in the fridge.  Let it sit there for an hour or so.  This lets the flavors get to know each other.  Give it a good stir before you serve it up.
This came from an '80s cookbook, and was intended for salmon.  Just salt and pepper the fish, pan-fry it, and serve it with sauce on top.  It's also great with steak, on the potatoes, and probably even on a flatbread.  I used it as a veggie dip, too.  


Saturday, March 29, 2014

Chocolates part 2: Pistachio-Raspberry Truffles (with an emphasis on temper)

In my previous blog, I talked about making sesame truffles, focusing particularly on the emulsion aspect, the ganache centers.  This time I'll go into more detail about the tempering process.

Who knew that chocolate was so complicated?  Simply the process of making it edible is a trick: you need to ferment the beans, blend, crack, roast, press, grind…  I started reading about it, just generally, and quickly gave up any ideas I had possibly entertained about growing and processing my own.  But the trickiness doesn't end there.  See, chocolate is, as Jeff Potter does an excellent job explaining in his book Cooking For Geeks, a more or less crystalline solid.  It's not really pretty, regular crystals like sea salt or sugar (if we want to keep it in the food realm).  But it becomes important, because there are 2 types of crystals that chocolate likes to form.  One looks prettier.  The other forms quicker and at lower temperatures.  Have you ever had the experience where chocolate semi-melts, then you pop it in the fridge or something and then it "blooms" (turns whitish)?  That's the wrong form of crystal setting up.  It doesn't taste awfully different (if you can get rid of the sight component, which does influence our perceptions of taste), but may have some textural differences.  When you're working with chocolate, you go out of your way to make sure that these crystals don't form.  Properly crystallized chocolate will set quickly, look pretty, and have a smooth mouthfeel.

Why temper matters: this is improperly tempered.  
How does one make sure the right crystals form?  Begin by chopping up your chocolate into little tiny bits.  Use a sharp knife, and sort of shave it; it's easier with large blocks, but those are usually not what I use in my home kitchen (I don't need that much chocolate!).  Once you've got your chocolate finely chopped, melt about 3/4 of what you think you'll need.  You're going to cool it for about 10 minutes (less in a 50˚F kitchen), and then add the remaining chocolate a handful at a time, stirring thoroughly after each addition to ensure complete melting.  You may not need all of it.  But keep checking the temperature, because when it gets down to 86˚F (or 81˚F if you're working with milk or white chocolate), you need to heat it up again.  For dark chocolate, you heat it back to 89˚F; milk or white, 86˚F.  Basically, what you've done is melt all crystals away, add some crystalized chocolate so that there's something for new crystals to form on top of as you lower the temperature to where crystals will quickly form, and raised the temperature to where only the desirable crystals will form. You maintain this temperature as best you can while working.  It will set quickly, so the edge of you bowl will have chocolate hardening on it.  Keep a hair-dryer handy to heat the bowl if everything starts to set.

The following recipe was adapted from a recipe for Pistachio-Kirsch truffles.  I looked all over town and could not, for the life of me, find Kirsch.  Cherry-flavored vodka, yes, even Cherry wine.  But no Kirsch.  So I bought some raspberry liqueur, crossed my fingers, and hoped for delicious.


Pistachio- Raspberry Truffles, adapted from Making Artisan Chocolates 
56g 64% bittersweet chocolate (I used Ghiradelli bittersweet chocolate chips)
84g 55% semisweet chocolate (I used Ghiradelli semi-sweet baking bar)
91g heavy cream
7g light corn syrup
14g salted butter, cubed and softened
14g raspberry liqueur
chopped, toasted pistachios
64% bittersweet chocolate

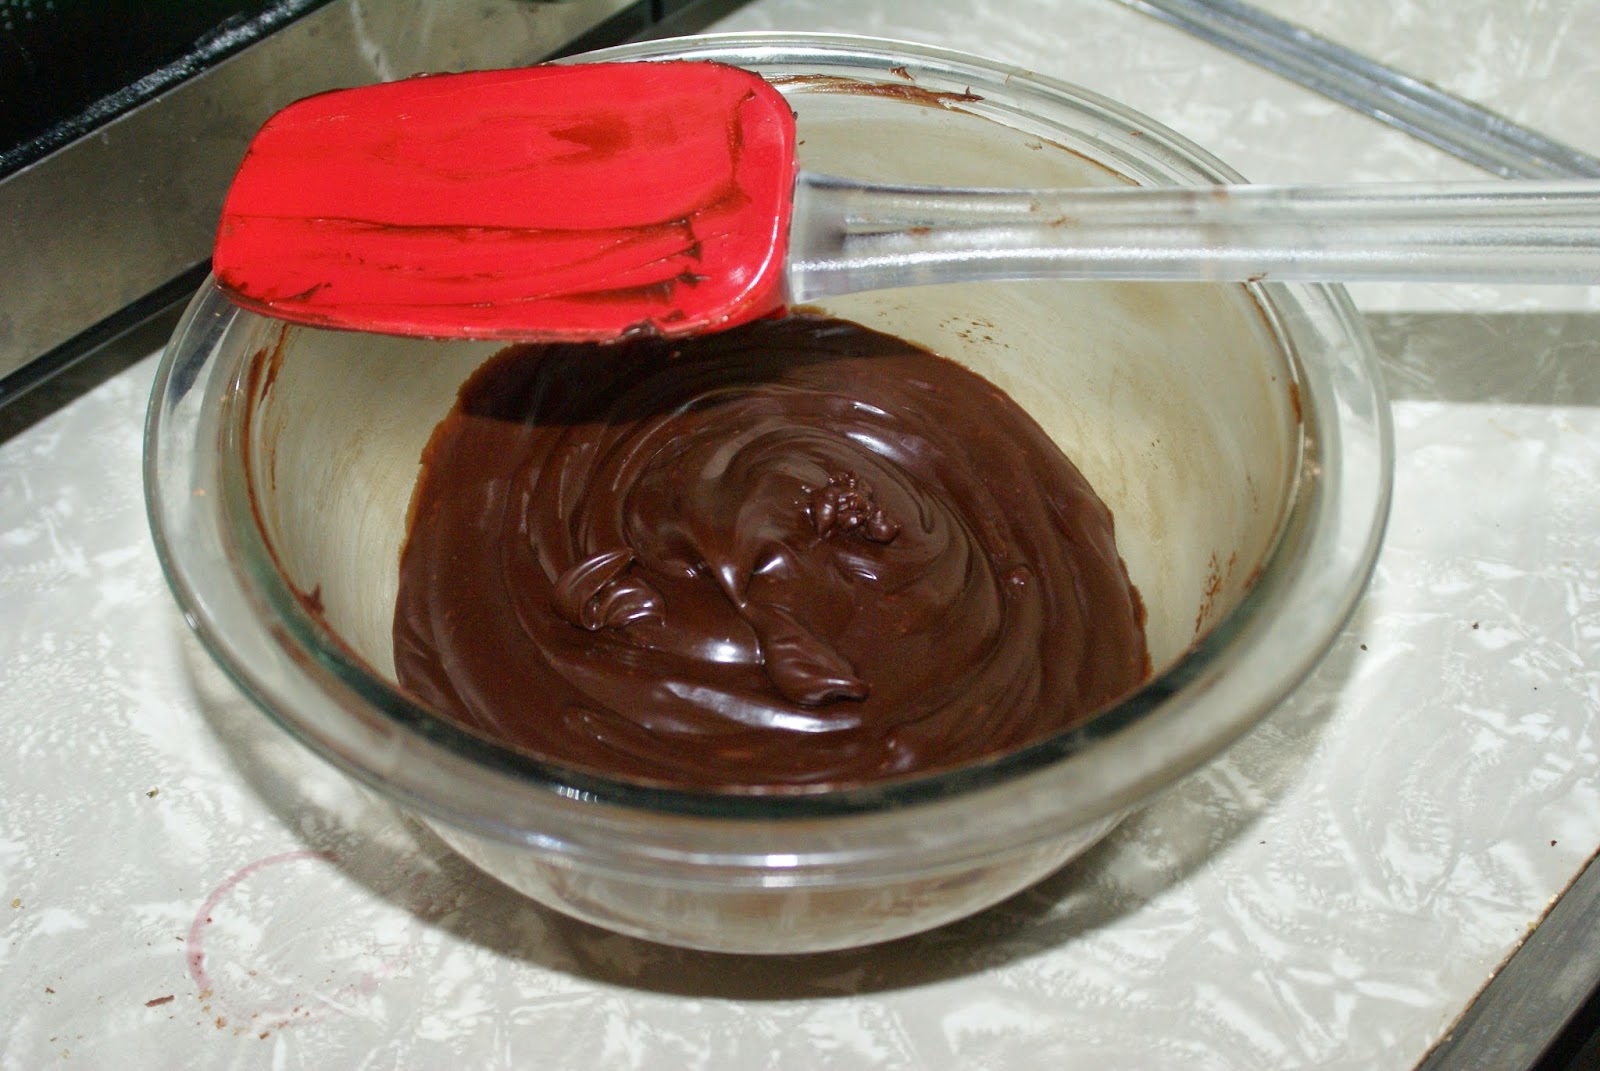
To make the ganache, chop up the chocolate (56g and 84g) and set it in a bowl.  In a small saucepan, combine the cream and corn syrup.  Stirring over medium-high heat, bring it to a boil.  Pour the cream mixture over the chocolate and let it sit for 2 minutes.  Then slowly stir the chocolate until completely melted.  Once it has reached 95˚F, add the butter and liqueur, and stir until incorporated.  Don't over-stir!

Let the ganache set, then scoop it out into little truffle centers and let them sit overnight on a baking sheet lined with parchment paper.

Once the truffle centers have set, place the chopped pistachios in a shallow dish.  Temper your chocolate, then work quickly to dip the truffle centers into the chocolate and roll them in the pistachios. Set them on a parchment-paper-lined tray until set.  If your chocolate is properly tempered, it shouldn't take long at all!

They turned out quite nicely.  The Ghiradelli chocolate melts so beautifully!  And I was able to temper it properly; in my cold kitchen it took about 15 seconds to set, and was smooth and glossy.  They were beautifully crisp to bit into, and delicious.  I would have liked a little bit more raspberry flavor, and perhaps a little less pistachio; next time I might just give the truffles a pistachio base, or sprinkle them on top.  And although ganache is not the focus of this blog, the ganache for these truffles was delightfully creamy and smooth.  I think the corn syrup makes ganaches easier.