Sunday, August 31, 2014

How to Poach an Egg: Eggs Benedictish

My fiancé thinks I'm a pretty good cook.  But there were, he told me, two things I needed to learn to make like his grandmother.  Chicken and Dumplings, and Eggs Benedict.  Now, it turns out that his grandmother makes a variant on eggs benedict.  Instead of hollandaise sauce (made with eggs and lemon, which surprises me) she makes a cheese sauce, because, "no one [in the family] will eat hollandaise."  I was like, "I can do that!…  Except the egg-poaching.  I can't poach eggs."  I had tried once, just to do it, and, um, I wound up with egg-drop soup and a boiled yolk.  It was very sad.  So when we went to spend a week with his family, eggs Benedict were on the menu.


Eggs Cheesey-Benedict
Butter
Flour
Milk
Velveeta, cubed
Ham, sliced thin 
English Muffins, split
Eggs


I think it's best to begin with the sauce:  it's a roux-based cheese sauce, so begin by combining flour and butter-- about equal parts of each.  For a small batch (3 cups), use about 1 heavy Tbsp, we were making enough for about 11 people.  Also, leftover sauce keeps well, and is good on pasta or potatoes or broccoli…  anywhere you might want cheese!  You can do this in a microwave-- combine them in a large microwave-safe bowl, and microwave until the butter is melted.  Mix together, and add milk.  My fiancé's grandmother has this cool non-whisk that will get lumps out of anything, so she goes ahead and adds a few cups in 1 go; those of us without them must either risk lumpiness (not the end of the world), or add a little bit of milk, heat, stir until completely combined, and repeat over and over.  But heating and stirring will get it combined and thickened into a sauce; if too thick, add more milk.  Once you've got it more-or-less as thick as you'd like, add the velveeta.  Heat and stir, until everything is melted into a uniform sauce.  You may need to add milk again at this point to thin it a little.

Toast up your ham right now.  Just put it in a (buttered for flavor and non-sticking) pan and warm it up over low heat.  I like a little browning, so I might turn the heat up a bit; grandma doesn't, so she just keeps it at the lowest setting while she does everything else…

Once you have your sauce how you want it, put a pan of water on the stove.  You want to get it to just about (but not quite) boiling.  While this is heating, toast and butter your English muffins.  Once the pan is to the almost boil, reduce the heat to keep it that way.  You may see bubbles all around the pan, but they must not actually be rising to the surface.  Carefully slip the eggs into the pan.  Grandma just breaks them right over the water's surface; other places I've seen people suggest cracking them into a bowl and pouring them in.  The goal is to be smooth and ease them into the water.  Let them sit there until done.  When are they done?  Well, first look for the white to be white: you shouldn't be able to clearly see the yolk. At left, the yolks on the right-hand side of the pan are almost there; the center are just added.  Then gently scoop one out (use a slotted utensil).  Give it a little shake.  It should have some jiggle to it, but should not be wobbling all over the place.  Think bread pudding, not jello.

To serve: place the muffins on a plate, top with a slice of ham, a poached egg, and a generous scoop of sauce.  Yum!


Sunday, August 3, 2014

Tunnel o' Fudge

We've established by now that I REALLY like cookbooks.  So it shouldn't be too surprising that I got excited about Shirley O. Corriher's BakeWise (ISBN:9781416560784).  This is a fantastic compilation of a range of baked goods, including breads, desserts, and little bites.  The best part about it, though is Corriher's approach-- she discusses the science behind the recipes.  There are general sections of science-- such as the introductory discussion of how ovens work or the chapter on steam-leavened goods-- and little blurbs at the beginning of each recipe pointing out which phenomena apply.  The following recipe (which was published in the New York Times along with an article explaining the process she used to perfect it) highlights how brown sugar gives a fudgy flavor, how tons of sugar will prevent a cake (or any baked good) from setting properly, and (although it's not technically a scientific thing) the difference nuts can make in a recipe, "roasted nuts make this cake.  Don't leave them out."  (Sorry folks with allergies.)

Also in the introduction to the recipe, Corriher explains the history of this cake.  Apparently it was all the rage in the 1960s (missed that decade, sorry), so much so that when Pillsbury discontinued the icing that was used to make it, they got swamped with angry letters (if the movies are correct, these were sent by angry bouffant-styled housewives dressed like Audrey Hepburn or Mary Tyler Moore.  I like this image.)  So they released a recipe to make the cake without their icing.  (They must've been REALLY set on discontinuing it!)  It has to be a bundt cake, because the center is going to remain gooey.  The edges will cook nicely though, and you'll be left with a tunnel-like ring of fudginess.

Improved Tunnel of Fudge Cake
2 1/2 C mixed walnuts and pecans (in pieces)
1 1/4 C plus 2 Tbsp unsalted butter
3/4 tsp salt
1 C sugar
3/4 C (packed) dark brown sugar
1 tsp vanilla
1/3 C canola oil
Yolks of 2 large eggs
2 C confectioners' (a.k.a. powdered) sugar
3/4 C natural cocoa (NOT Dutch-processed/alkalized)
4 large eggs (whites and yolks!)
2 1/4 C flour
Extra powdered sugar for dusting

Move a rack in your oven to the bottom 1/3 of the space (and make sure your pan will fit on it), and place a baking stone on it.  Preheat the oven to 350˚F.  [I don't have a baking stone.  Yet.  They improve the ability of the oven to maintain an even temperature, thereby optimizing your making.  It's a good thing, especially for this recipe, which relies entirely on the accuracy of your oven, but you can get by without one.  You're just gambling.]

Roast the nuts on a baking sheet for ~10 minutes, then combine in a bowl with 2 Tbsp butter and 1/4 tsp salt.  Cool, chop coarsely, and set aside.  Grease your Bundt pan.

Beat the 1 1/4 C butter until soft and fluffy.  Add the regular sugar, then the brown sugar, and continue to beat until creamy and light.  The tricky part here, though, is that you need to keep it cool.  Since I don't have a reliable mixer, I had to do this by hand.  I warmed the butter to get it started, but once I got it to a fluffy stage, I cooled it again.  Just pop it in the freezer for a few minutes.

Beat in the remaining 1/2 tsp salt and vanilla.  Add the oil and yolks.  Stir in the powdered sugar BY HAND (you know, unless you want your kitchen to be home to a sweet cloud that really ought to have been in the cake), as well as the cocoa powder.  Still working by hand, stir the eggs in one at a time, until just blended.

Pop your bundt form into the oven for about 5 minutes.  Stir together the flour and nuts.  Fold the resulting mixture into the batter, and pour into the warmed [hot] bundt.  Bake for 45 minutes.  This is where the accuracy of your oven matters-- the center will not set, so you can't test for doneness with this cake.  So cross your fingers, say a prayer, or just be optimistic, and pull it out after 45 minutes.  Due to steam-leavening, there is an air pocket in the center.  This is not ideal.  While the cake is cooling and still in the pan, gently press the inside and outside edges down all the way around the cake.  The cake should be left in the pan until completely cooled (about 2 or 3 hours).  Loosen the cake from the edge of the pan (and curse whoever thought of the silly flutes that look so pretty but make it hard to loosen anything from the pan!).  Corriher uses a thin knife.  I used my cake tester.  Flip the cake out of the pan and onto a plate, platter, or cake-saver base.  Sprinkle with powdered sugar.

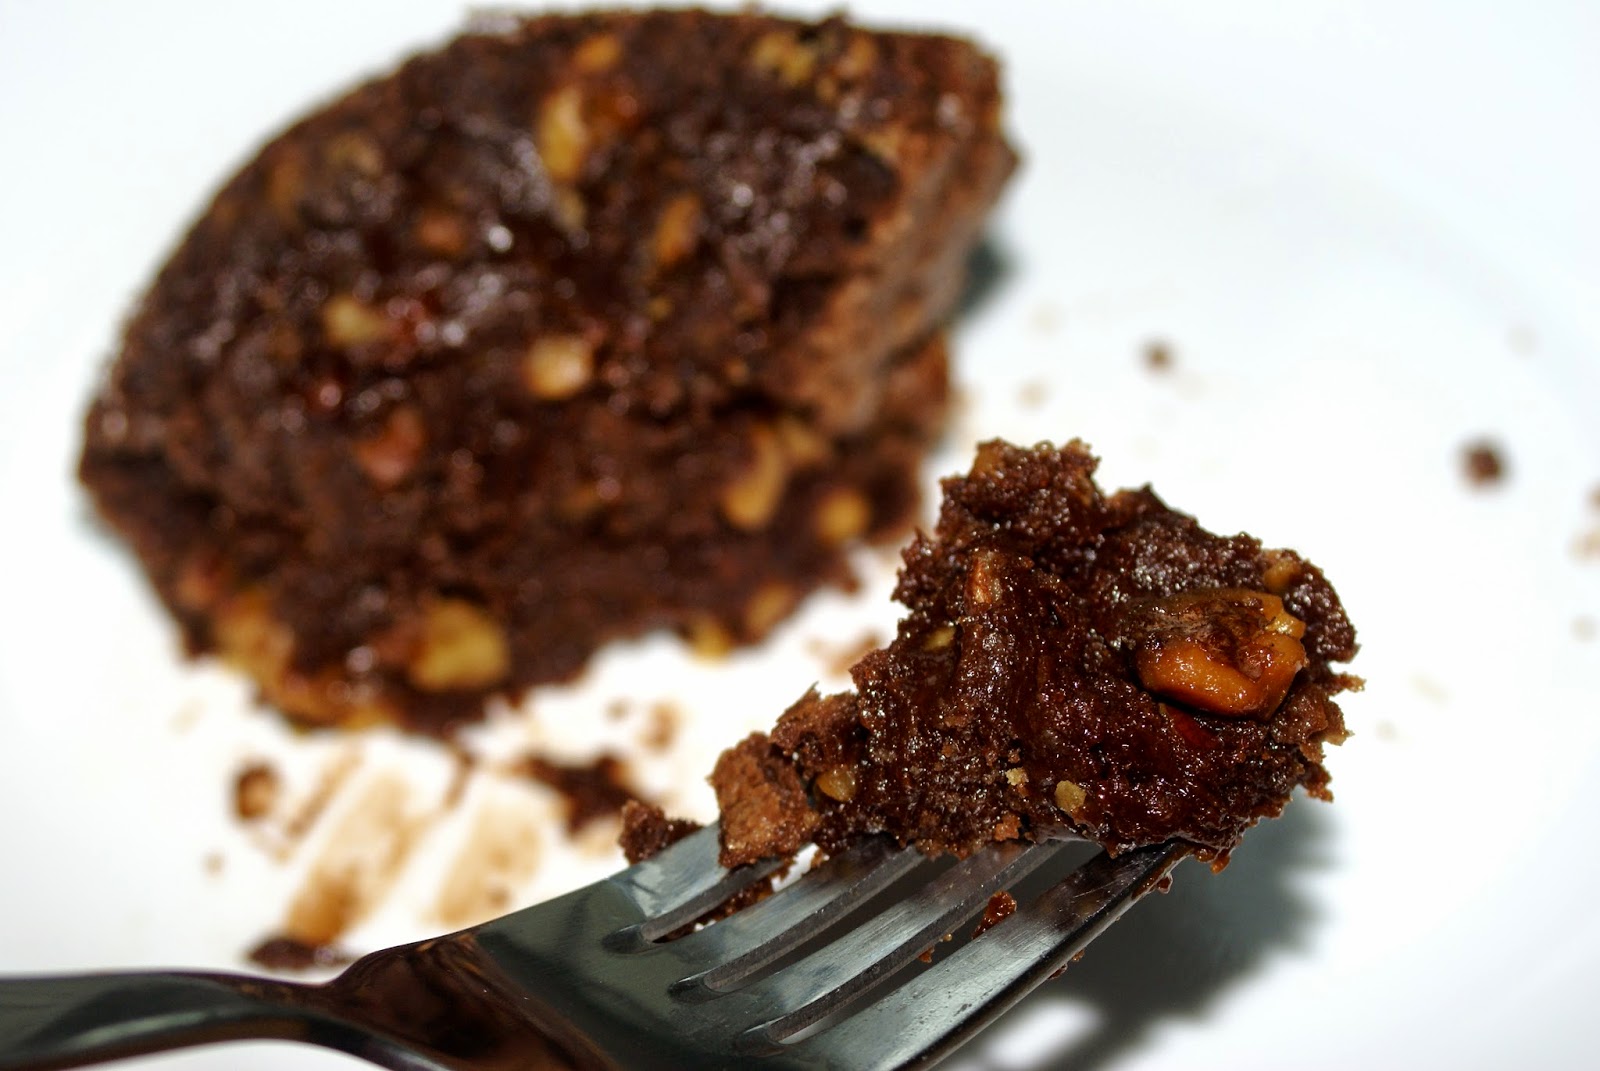
I took a risk with this cake and my probably (almost certainly) not properly-temperatured oven; I've had issues baking things before.  But I wanted to try it so badly, I forged ahead.  And I'm glad I did.  It didn't turn out quite the way I expected, but it had a delicious, rich flavor.  My fiancé, who only likes about 2 types of cake, liked it, too!  It was almost cookie-like on the outside, and rich and gooey inside, almost like a brownie.  It was hard for me to eat just one piece.